Getting Started with Review Tornado
This guide will walk you through the process of getting started with Review Tornado. We’ll walk you through creating your account, setting up your business, creating your first funnel and adding your first customer.
Step 1: Creating Your Free Account
The first step in using Review Tornado is to create your free account. We recommend that you use the Review Tornado application on a desktop device. While the review request process is fully mobile friendly, some parts of the Dashboard may not be fully mobile compatible at this time.
To create your free account, you can click the button below:
You’ll need to provide your name, email address and a password. The email address you provide can be the email used by your business or a personal email address. This email address won’t be shown to your customers.
Step 2: Register Your Business
Once you create an account, you’ll immediately be dropped into a form where you can add your business details. The form will look like this:
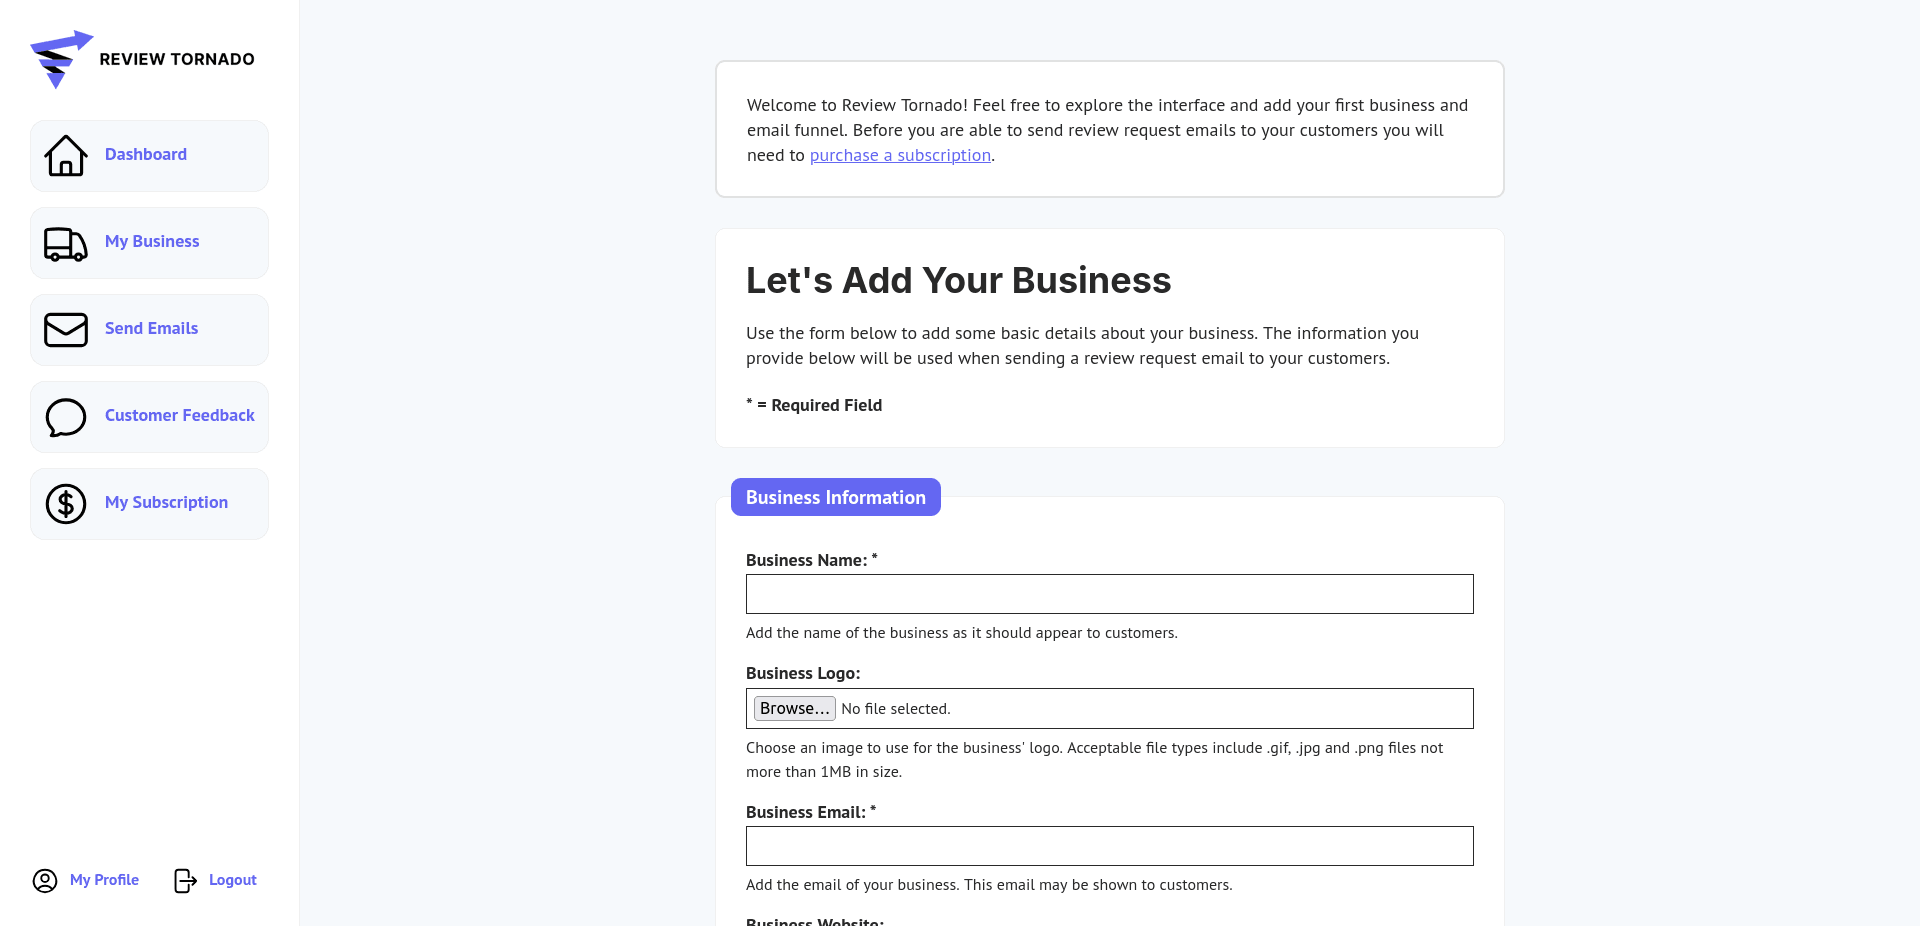
This form allows you to create your business inside of the Review Tornado Dashboard. Some of the information on this form, including the business name, logo, email address and mailing address will be shown to your customers.
Adding Your Logo
This form contains a place to upload a logo for your business that will be shown on all review request emails and the review request landing page. The file you upload here should be a GIF, JPG or PNG file that is no more than 500kb in size. For best results, your logo should be visible on a white background and have a transparent image background.
Saving Your Business
Once you have filled out the form, click the Save Business button at the bottom of your form to continue. You can always come back to your business later to change any details that you need to.
Step 3: Adding Your First Email Funnel
Each business on your account can have one or more email funnels. An email funnel determines what your customers will see when they receive a review request from Review Tornado. You can use one funnel for all your customers or have a different funnel for different customers or services.
After saving your business, you should be on the main Dashboard screen, which looks like this:
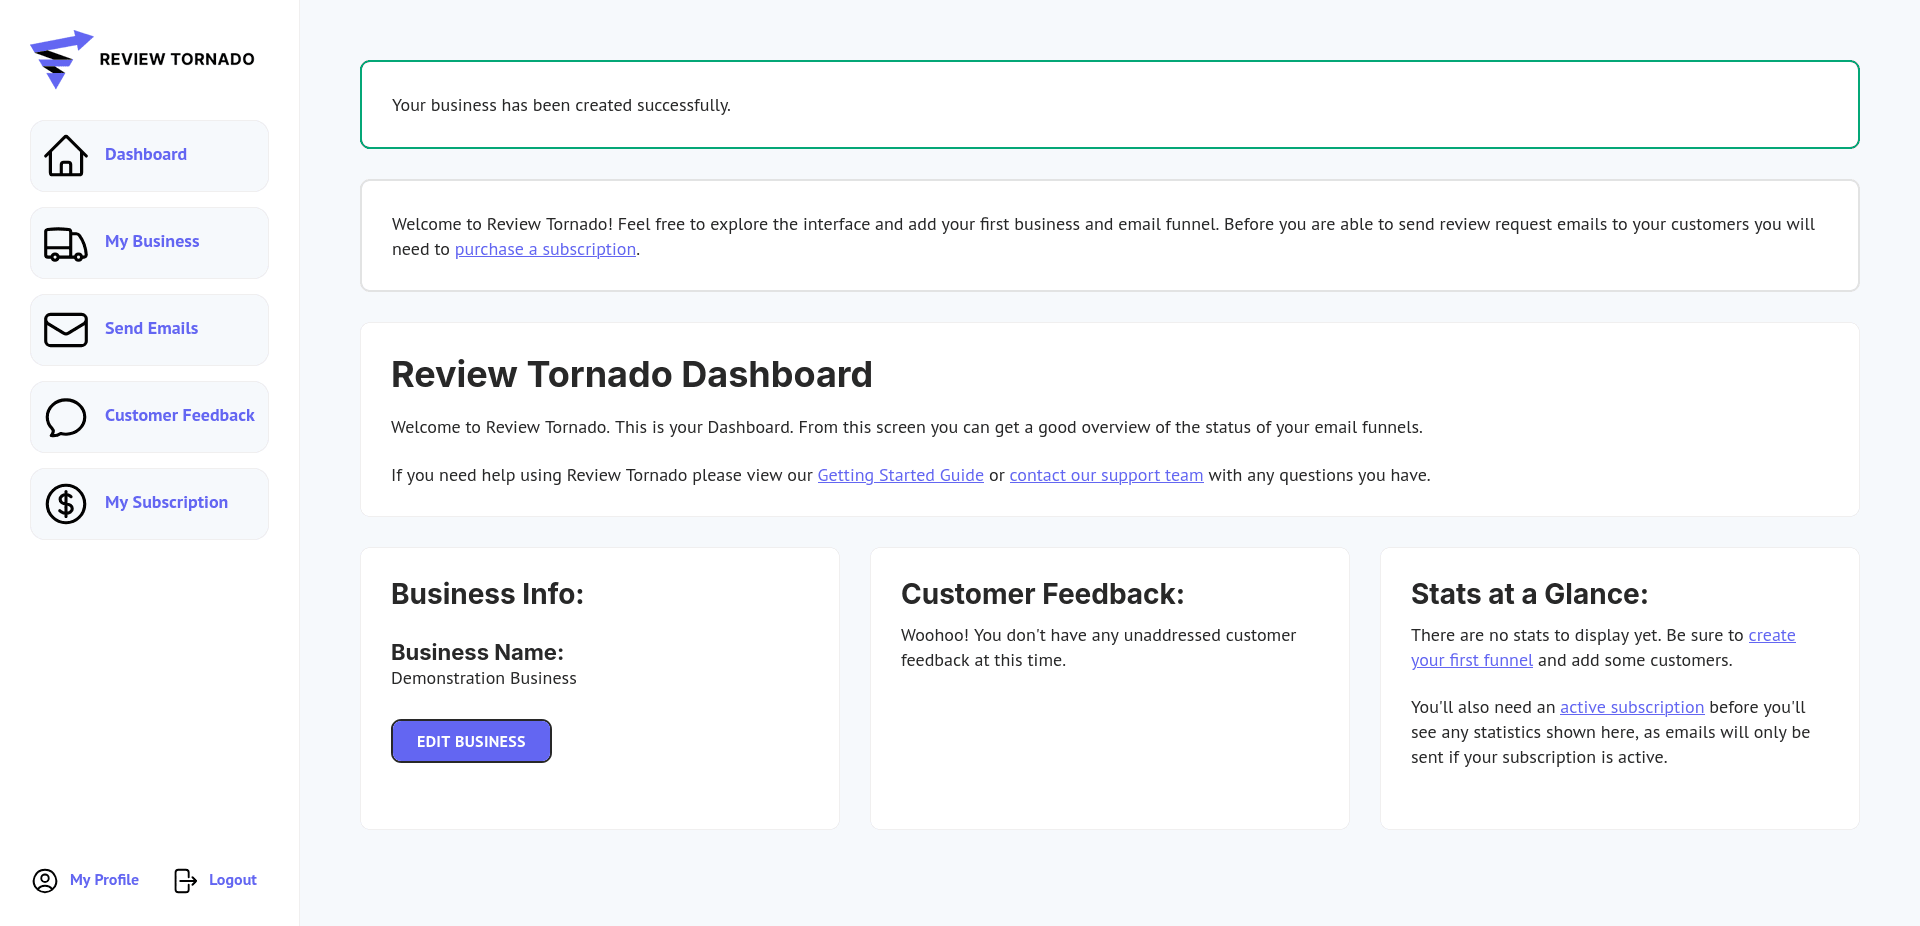
From the Dashboard, click on the My Business link in the left hand sidebar.
After clicking the My Business link, you should see a screen showing your business:
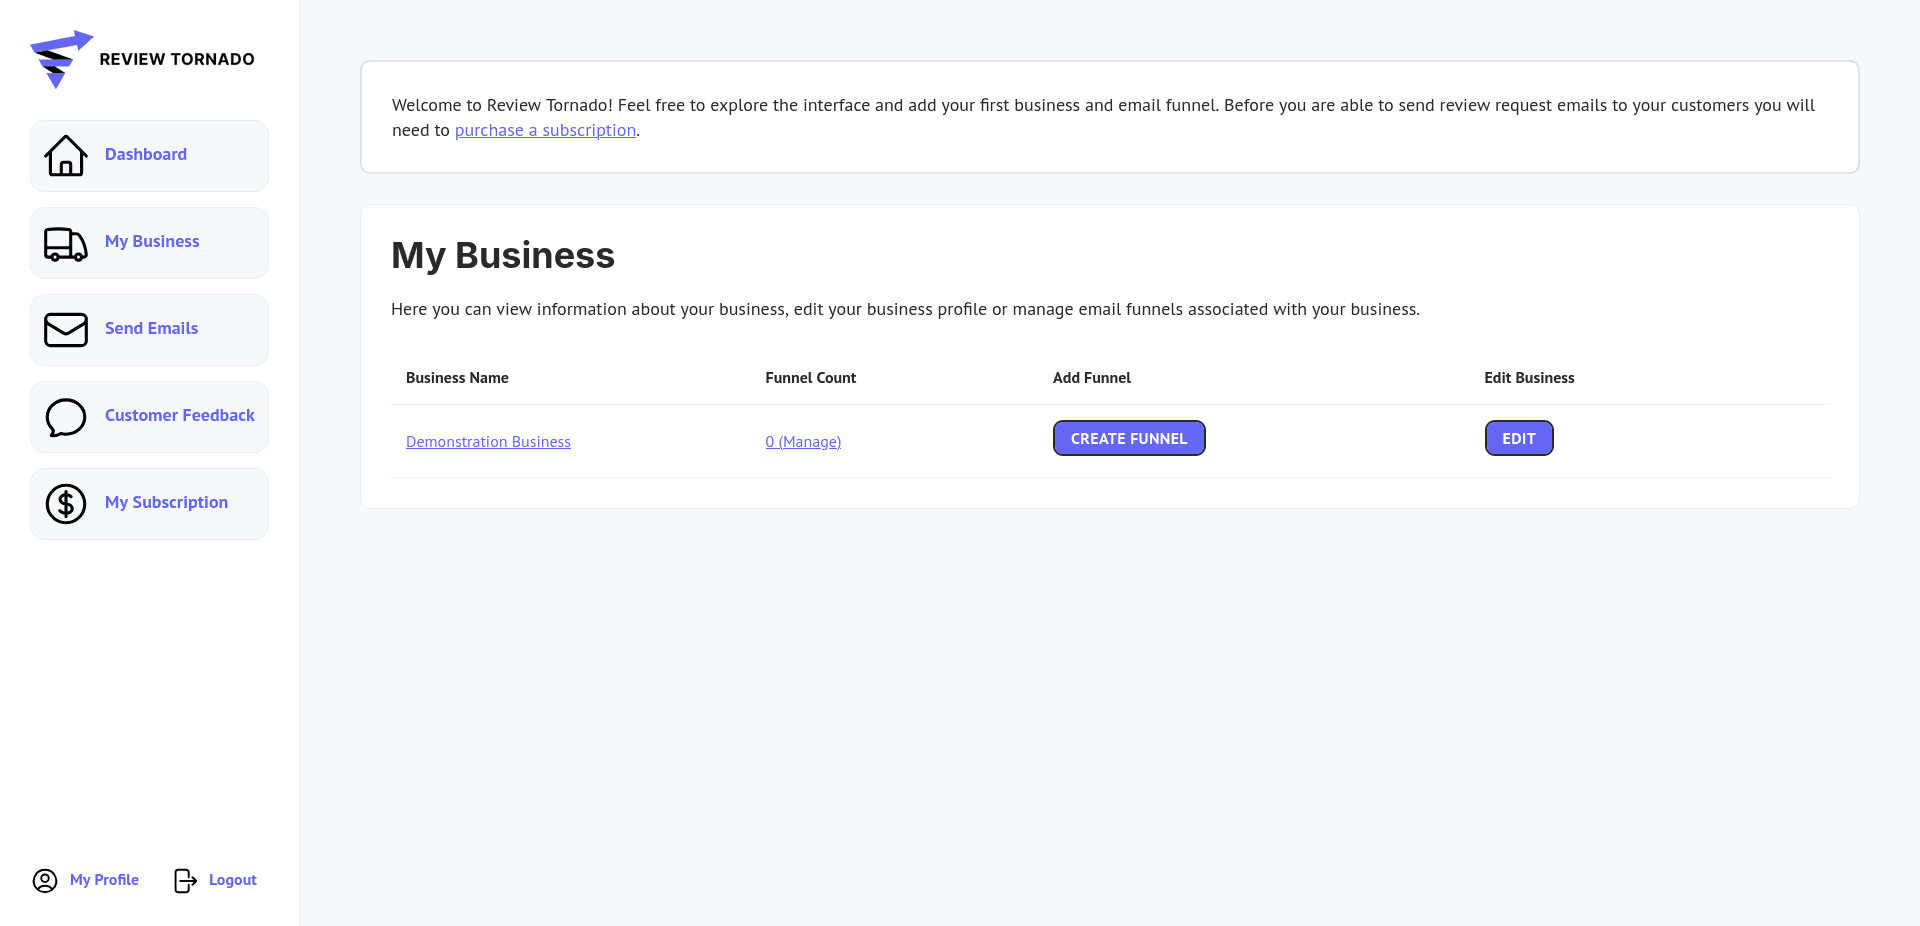
To create your first funnel, find the Create Funnel button and click it:
Clicking the button will take you to the Create a New Funnel form, which looks like this:
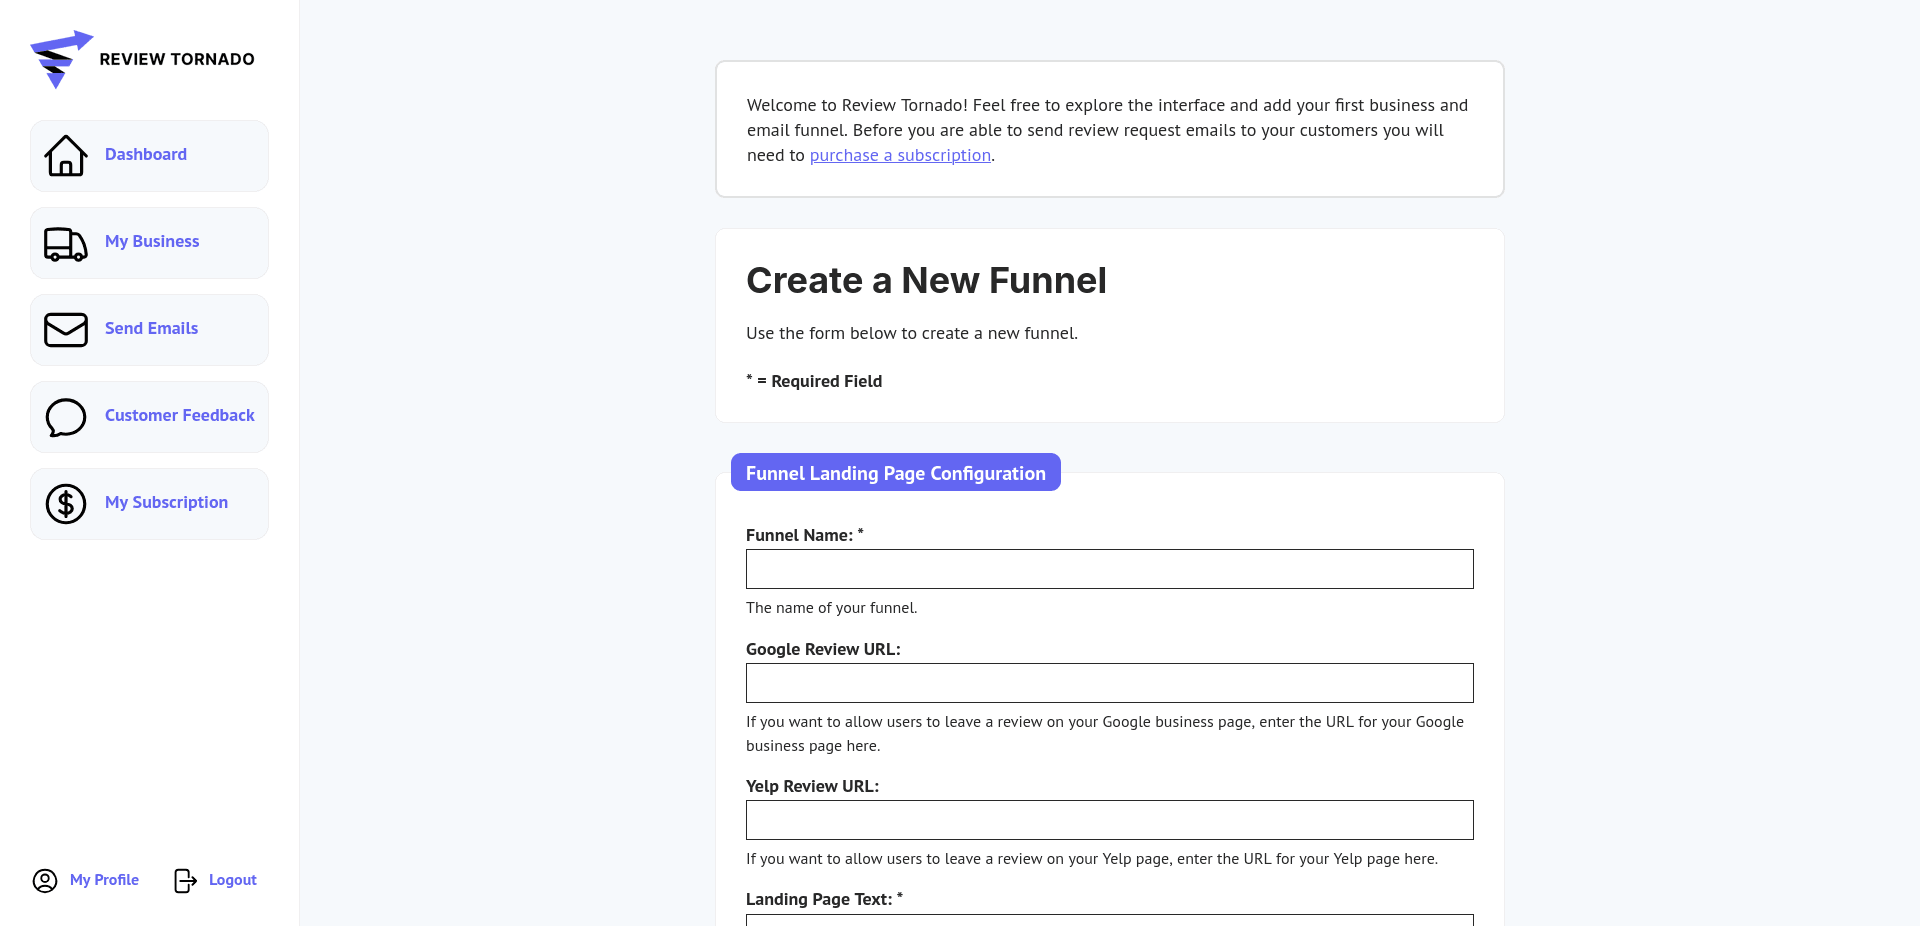
Adding Basic Information About Your Funnel
The first section of the form, entitled Funnel Landing Page Configuration controls basic information about your funnel and the landing page that your users will see when they click the link in the email they receive from Review Tornado.
Funnel Name
The funnel name field is an internal name for your funnel that only you can see. You can name this something generic like My Funnel, or something more specific like Lawn Care Customers. This name is private to you only.
Google Review URL
Enter the URL that users should be sent to when leaving your business a review on your Google Business Profile. Usually this URL will look something like this:
https://g.page/r/xxxxxxxxxxxxxxx/review
It should begin with a g.page domain. When a user visits this URL they will be forwarded to your Google Business Profile to leave a review.
If you don’t have this URL or need to generate this URL, please see our guide on How To Find Your Google Business Profile URL.
Yelp Review URL
If you wish to allow users to leave your business a Yelp review, enter the URL given to you by Yelp where your customers can leave you a review on the Yelp platform.
Landing Page Text:
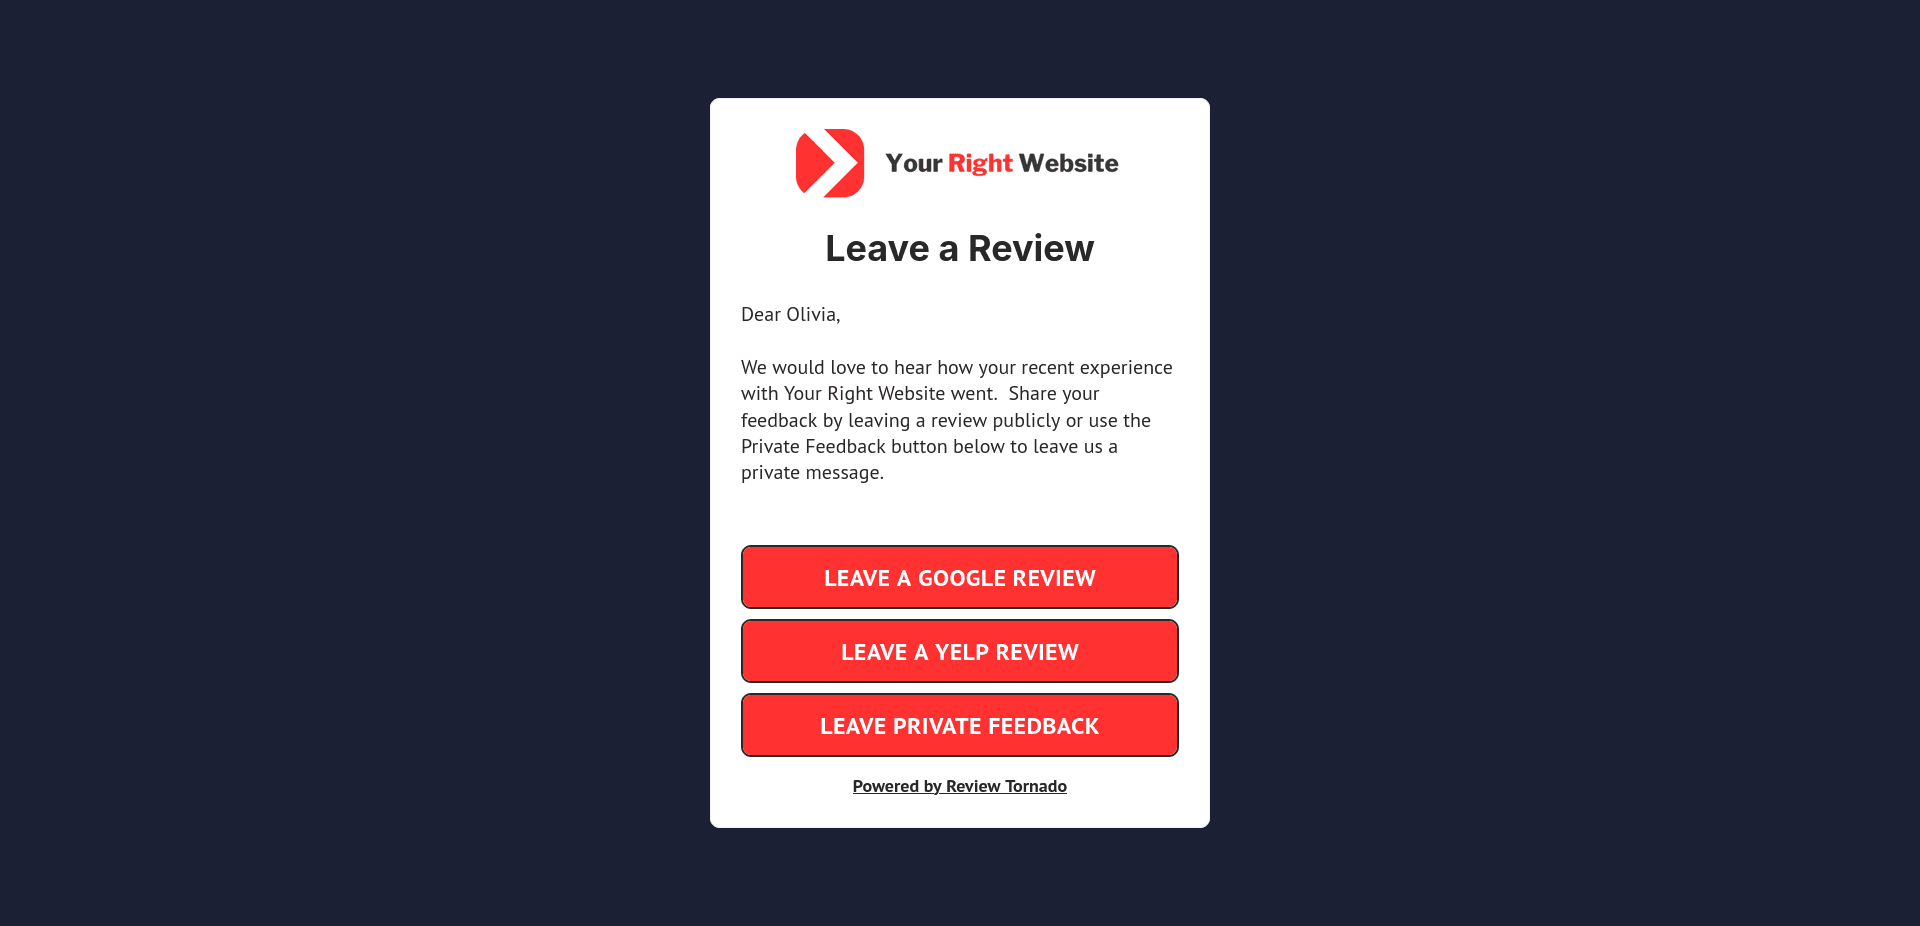
The text contained inside of this box is the text your customers will see when they land on the review request landing page. On this page they’ll see your business’ logo as well as the text you enter in this box. Below the text you enter, they’ll see buttons where they can click through to either Google or Yelp to leave a review, as well as a button where users can leave you private feedback.
Your landing page will look something like the below screenshot to your visitors:
For best results, the text you enter in this box should ask your customer for a review as well as prompt the user to leave you private feedback if there are any comments the user wishes to share with you privately instead of leaving you a review. Make sure that you don’t only direct unhappy customers to use the Private Feedback option as that could be considered Review Gating.
Inside of this text box you can dynamically populate some information about your customer, including their name, date of service and product or service purchased using text snippets. Text snippets start and end with a colon and look like this:
:FIRSTNAME:
For more information on text snippets as well as a list of Text Snippets that are available for you to use please see our Text Snippets Help Article.
Default Service or Product Name
This field should contain the default service or product that you’re offering customers of this funnel. For instance, if you’re a plumber this field could contain a value like Plumbing Repair. When you add your customers, you’ll be able to override this value for each customer and have this value show up using a custom Text Snippet.
Configuring Your Private Feedback Form
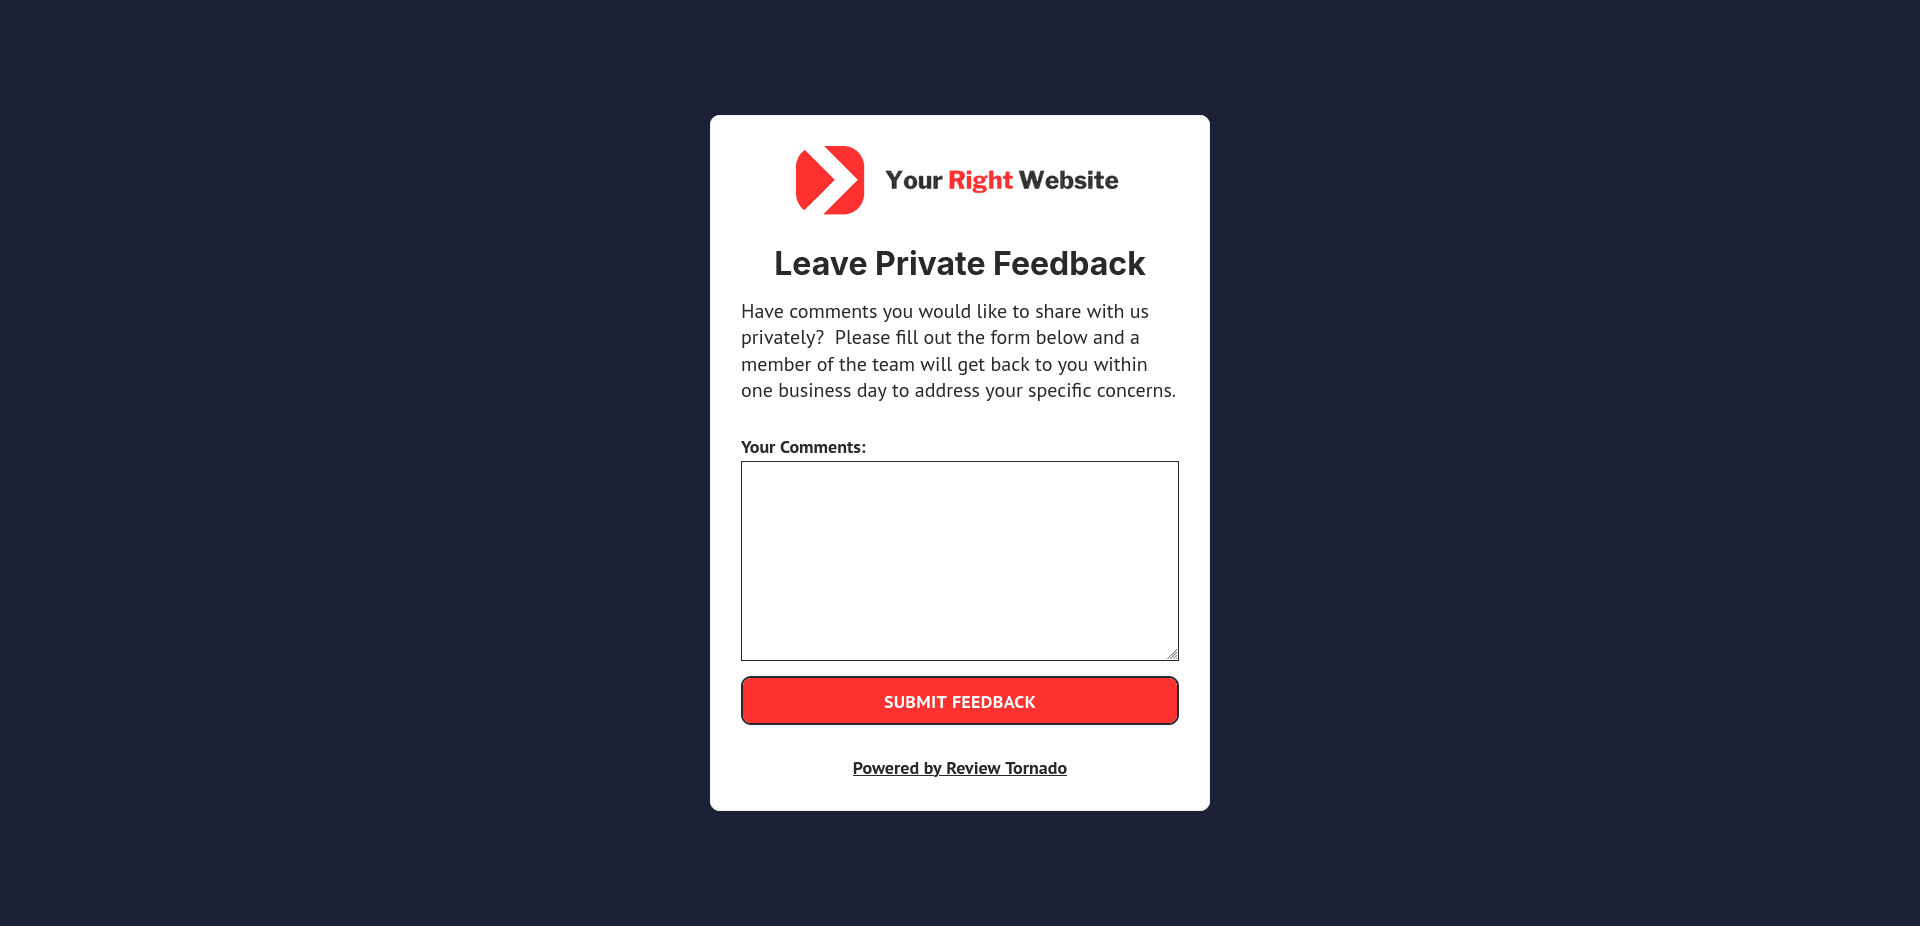
The Feedback Form Configuration section controls the contents of your private feedback form. In Review Tornado, private feedback allows your customers to leave you private comments instead of leaving you a review. Giving customers the option to leave you private feedback helps to mitigate negative customer reviews. Thus, it’s very important to explain private feedback to your customers and make sure that you express to your customers that you’ll address any private feedback received in a timely manner.
When your customers click the Leave Private Feedback option, they’ll see a form like this:
Private Feedback Form Text
The text in this box is shown above the private feedback form. Ideally this text will invite your customers to leave you feedback and reassure your customers that any private feedback received will be addressed in a timely manner.
Private Feedback Form Thank You Text
This text is shown to users after they submit the private feedback form. This text should thank users for leaving feedback and re-assure them that you will deal with their feedback in a timely manner.
Configuring Your Review Request Email
The Review Invitation Email Configuration section of the form controls the contents of the review request email that is sent to your customers.
Review Invitation Email Subject
This field contains the subject line that your customers will see when they receive your review request email. It’s recommended that you include your business’ name in the subject line of this email so that your customers know that this email came from your business. You can either enter your business name manually into this field or use the :BUSINESSNAME: Text Snippet to automatically add your business’ name to the email subject line.
Review Invitation Email Message
This field controls the text of the review request email. This text should include your business’ name as well as invite your customer to complete a review by clicking the Leave a Review button present in the email.
Email Delay
By default if you don’t set an email delay, review request emails will be sent within an hour of you adding a customer to the Review Tornado Dashboard. If you want to delay review request emails, such as if you want to wait until your product is shipped or your service is completed, you can set an email delay of up to two weeks to delay when the email is sent to your customer.
Branding Configuration
The Branding Configuration section of the form controls how your review request email and review request landing page appear to your customer. You can choose the colors used on the review request email and landing page buttons as well as set a custom background image to be used on the review request landing page.
Button Color
This is the background color of the buttons users will click to leave a review. The color you choose here should be dark enough that white text is clearly readable on a background of this color.
Landing Page Background Color
This is a solid color that is used for the background of the review request email and review request landing page.
Landing Page Background Image
If you wish to use an image as the background for the review request landing page you may upload an image here. Images uploaded here should be at least 1920px wide by 1000px tall. Do not upload any images containing text or logos in this field as the contents of the landing page may cover that part of your image.
Saving Your Funnel
When you’re ready to save your funnel click on the Save Funnel button at the bottom of the form. If you need to make changes to your funnel you can always edit your funnel in the future, so don’t worry if things are not perfect right at the beginning.
Step 4: Adding Your First Customer
Now that you’ve created your funnel, you can add your first customer. To add a customer you’ll need at a minimum your customer’s first name and email address.
It’s very important that you obtain consent from your customer to send them emails. It’s recommended that when you ask for your customer’s email address you document this consent via either a form or checkbox or have other terms in your contracts that allow you to contact your customers via email.
Getting To Your Funnel To Add A Customer
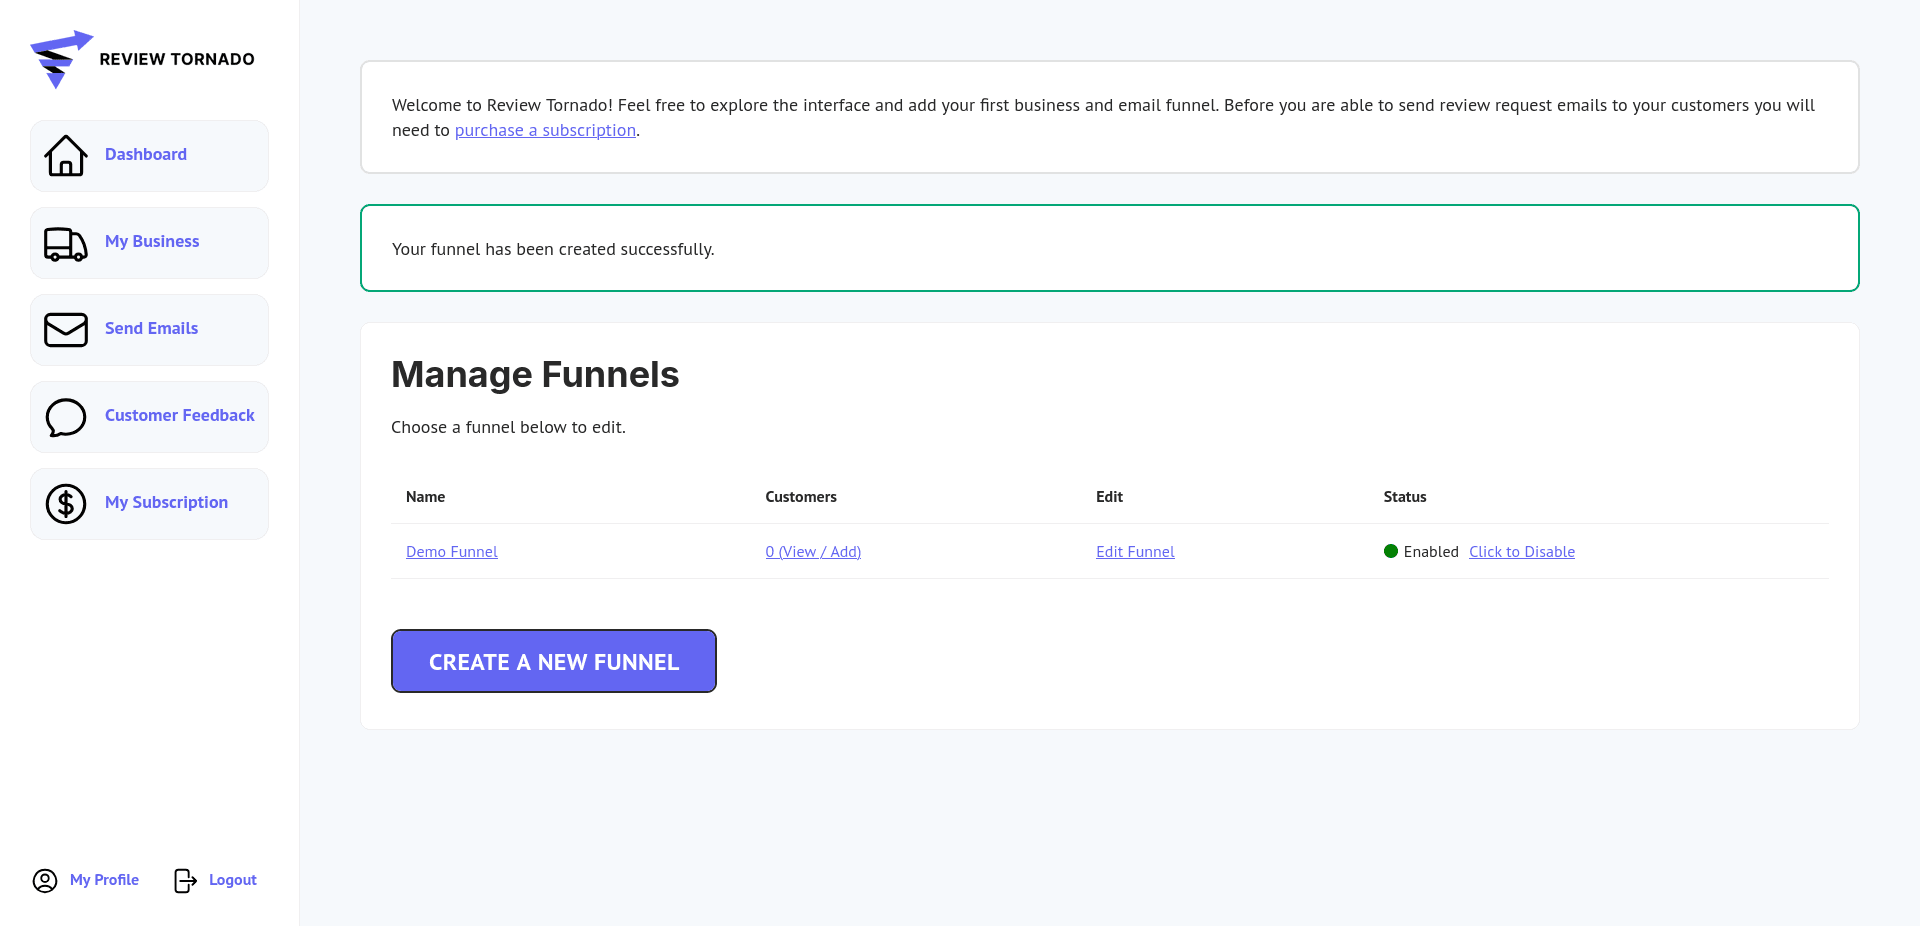
When you saved your funnel in the previous step you should be taken to a screen that looks like this:
If you’re not on this screen, you can get back to your funnel from your business. Go to the My Business link on the left hand sidebar and find your business. Find your business in the table and locate the Funnel Count column. You should see a count of the number of funnels active for your business along with the word Manage. Click this link to load the listing containing all of your funnels.
To add your first customer to your funnel, find your funnel in the table and click the View/Add link under the Customers column of the table.

After clicking the link you should see the Add Customer button. Click that button to add your first customer. You’ll see the Add Customer form as shown below:
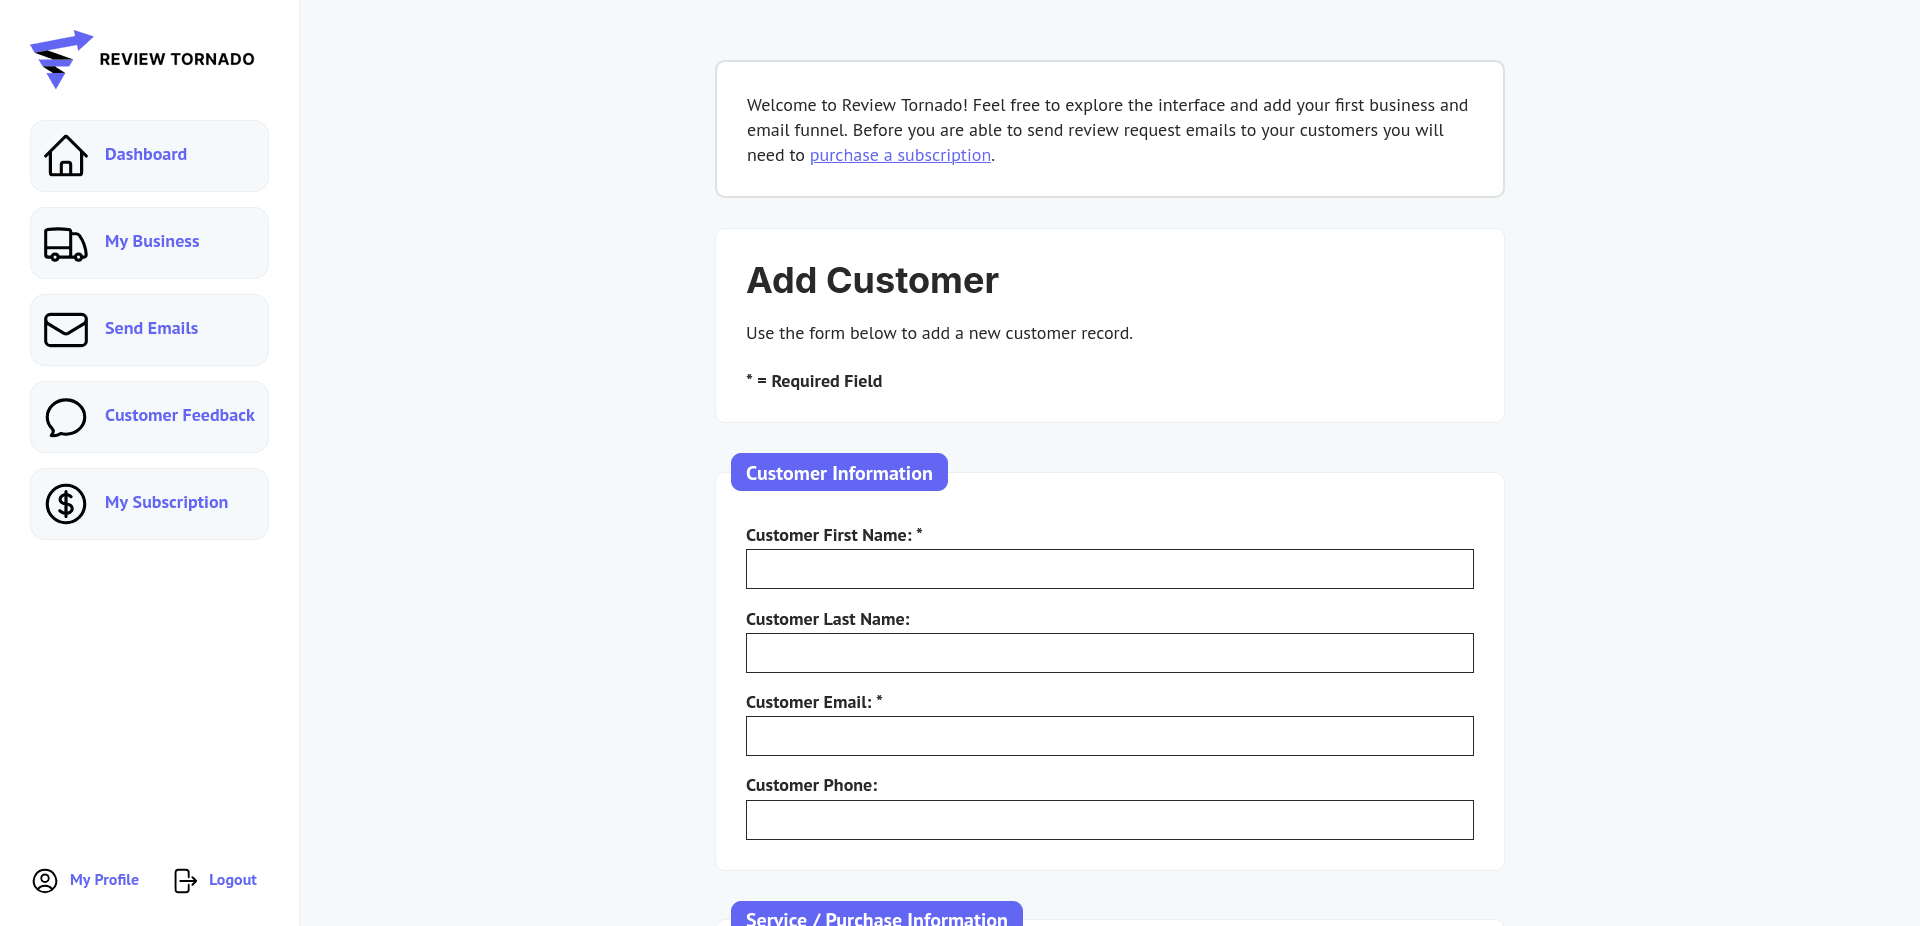
This form allows you to input information about your customer into the Review Tornado Dashboard. While you can add a customer if you only have their first name and email address, adding more information will help you keep better track of your customers and enable you to more easily contact a customer if they post negative private feedback.
Customer Information
This section allows you to enter basic information about your customer, including their name, email and phone number.
Service / Purchase Information
This section allows you to enter in information about the service or product your customer purchased from you as well as information about when they made their purchase.
If you enter a product or service name in the customer’s record, it will override the value for the default product / service that you set earlier on your funnel. So, for instance your default service might be Plumbing Repair, but for a specific customer their service might be more specific, like Blocked Drain Repair.
If you enter a service date, you can access that value in your funnel by using the :SERVICEDATE: Text Snippet. If you decide you want to show the service date in the emails you send to customers, you’ll need to manually add the service date for each new customer you add to ensure that the emails sent to them are correct.
Customer Notes
The Customer Notes field allows you to leave private notes about this customer. These notes are private to you and are never shown to the customer. Use this field to keep track of any issues that may have occurred with this customer or to keep notes about any negative feedback the customer may leave you in the future. You’ll be able to edit these notes at a future time if you need to.
Adding the Customer
When you’re ready to save this customer click the Add Customer button at the bottom of the form.
Step 5: Sending Your First Review Request Email
Now that you’ve added your first customer they are all set to receive their review request email. If you set a delay on your funnel, your customer will receive an email after the delay you set. If you didn’t set a delay, the system will automatically send the customer a review request really soon. An automated process automatically sends review request emails once per hour.
If you want to send the email manually, you can click the Send Emails link on the left hand sidebar to manually send emails to any customers who have not yet received an email. You can use the Send Emails interface to manually send customer emails and receive a report of the number of emails sent.
Note that if you don’t yet have an active subscription you won’t be able to send any emails and any customers you enter into the Dashboard won’t receive an email until after you purchase an active subscription.
Purchasing a Subscription
To purchase a subscription to Review Tornado click on the My Subscription button on the left hand sidebar.
Clicking the My Subscription button will take you to the Manage Subscriptions page:
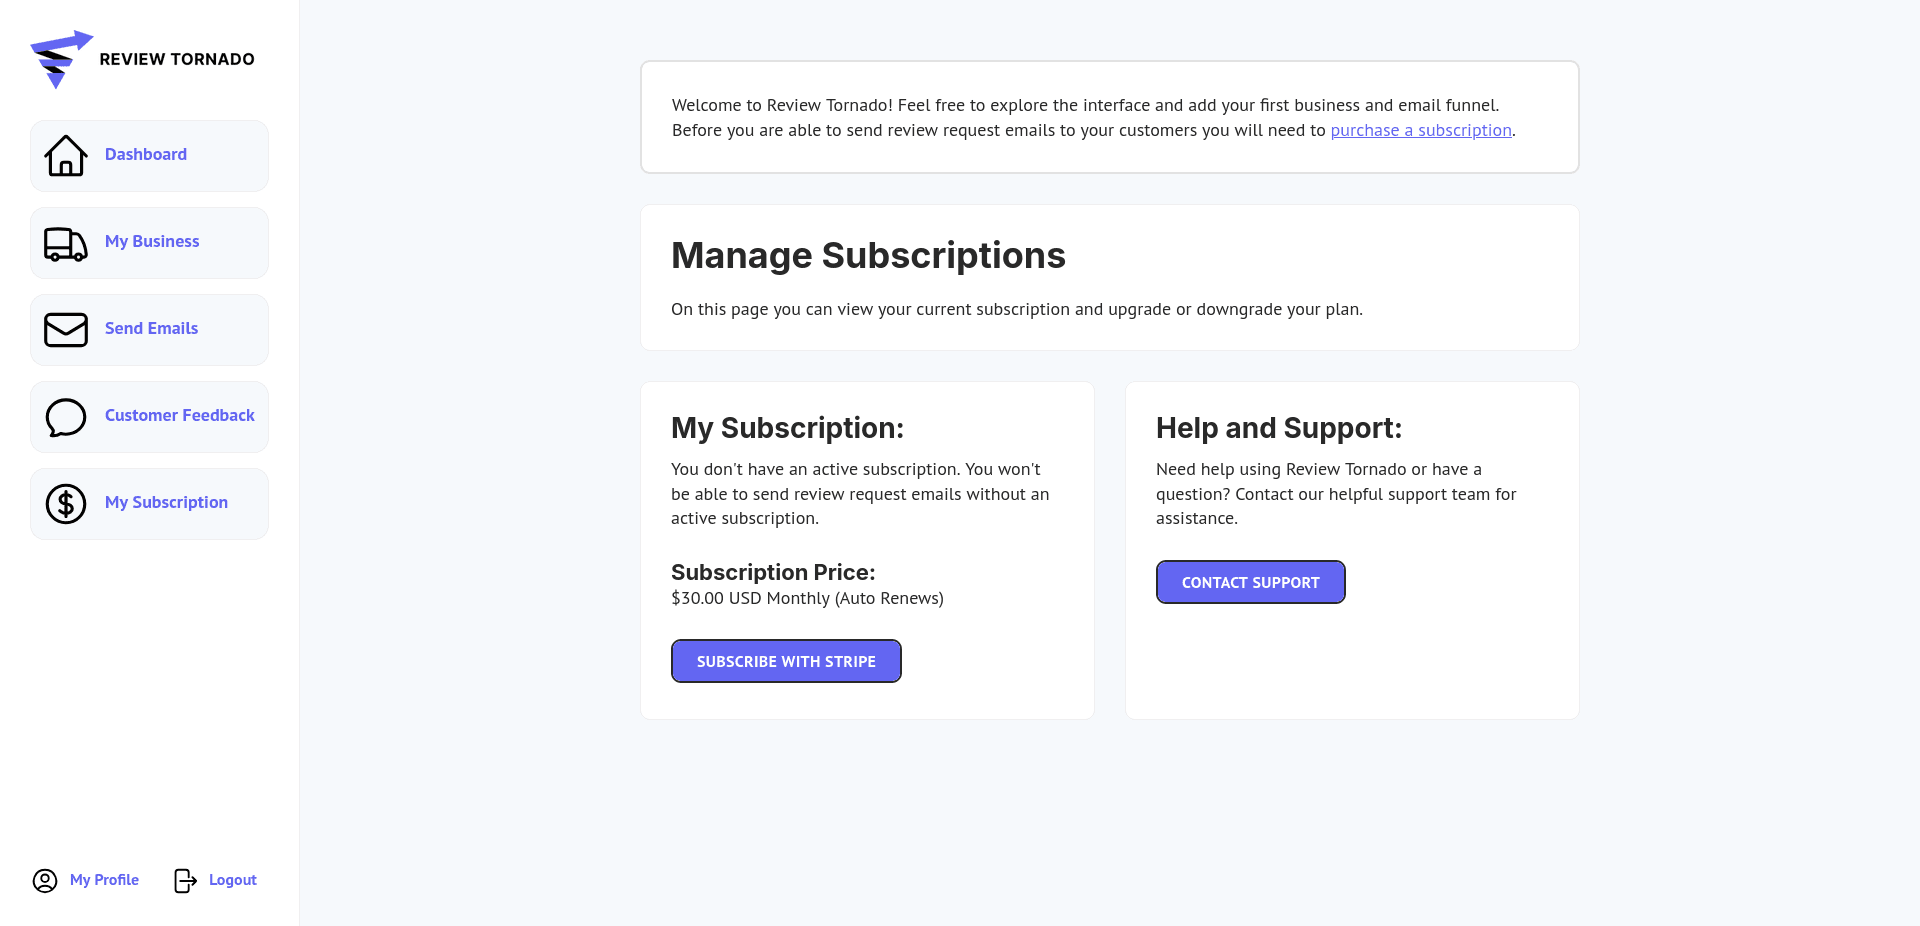
To purchase a subscription, click on the Subscribe with Stripe button. You’ll be taken to a Stripe payment page where you can securely enter your credit card details and begin your subscription to Review Tornado.
If you need to modify or cancel your subscription you can return to the My Subscription page and cancel your subscription via Stripe using the button provided.
Need More Help?
Congratulations on setting up your Review Tornado account! If you need more help using Review Tornado you can refer to our documentation or contact support for expert help with your questions.